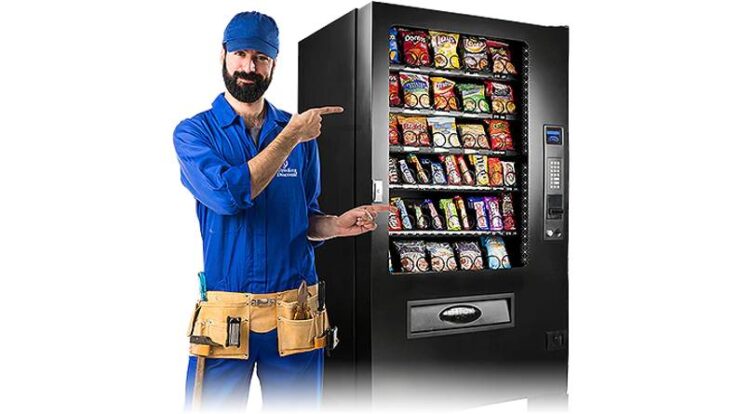
A vending machine is an expensive item that requires maintenance to avoid costly repairs or harm. If you don’t take care of your machine, eventually some of its components may start to malfunction, costing you sales and earnings. Regular service and maintenance enhance the life of your machine in addition to preventing breakdowns. Our knowledgeable specialists at Linkitsoft offer some helpful advice for you in this area.
Deck Refrigeration
Your vending machines refrigeration system is an essential part. They can have an impact on both the customer and the equipment owner when they are not operating at their peak. Customers who purchase beverages want their drink supplied cool, not from a warm bottle. It’s possible that inefficient refrigeration equipment uses more energy. Everyone has an interest in timely repair of the refrigeration deck since it will cost owners more to purchase and run such devices. Regular refrigeration unit maintenance is not as challenging as it may seem. Once a week, use a brush to remove any debris or dust that may have accumulated on the air intake grill. HERE is a video showing how to accomplish this.
Every two to four months, the condenser or air intake coils should be cleaned. Depending on the model, it is often near the bottom of the device and may be accessible from either the front or the rear. A metal plate with air intake slats or holes will be seen. This component must first be removed, either by lifting or by unscrewing. Use a medium-hard bristles brush to get rid of the built-up lint. Use compressed air to thoroughly remove the smaller dust and grime particles. After cleaning is complete, replace the kick plate in its original location.
Air Purifier
In terms of importance, air filters are frequently undervalued. They might obstruct the airflow and reduce performance if they are not cleaned often. Your equipment may overheat as a result of this. The heat exchange coil becomes dirty, decreasing the efficiency of the coil when the suction is powerful enough to bypass the clogged air filter. Regular air filter cleaning helps prevent repeated repairs and downtime.
Your machine’s air filter is located in the lower right corner. Open the door, and then carefully remove the filter. To remove any accumulated dirt or dust, hold the object under flowing water. Hold it in the sink as you shake it violently to get rid of any remaining water after letting the water drain off the filter. Reinstall the filter after doing this. This little video demonstrates how to accomplish it.
Bill Validator and Coin Unit
Depending on how often they are used, the coin unit and bill validator need to be cleaned every one to two months. First, turn off the vending machine’s electricity. Next, remove the cash tray, which is usually at the rear. Wipe it down and clean it with a dry towel. The sensor tray might be found above or below the cash box; remove it next. By depressing two buttons on either side of the tray, this may be freed. This may also require wiping; if it’s really unclean, wet the cloth with soapy water and wipe. Before you put the tray back into the machine, make sure it is thoroughly dry. To guarantee best performance, fill the coin unit tubes up to 2/3 capacity. You can clean this every time you clean the cash tray.
The most crucial components for the owner or operator of apps for vending machines are the payment mechanisms. It is comparable to what a cashier is to a convenience shop. They might be unable to properly collect payments or distribute change if these components are broken. Check these components frequently for damage or cracks to ensure prompt replacement and minimal disruption. Different machines may have different designs for bill validators, but this video shows a common process you should follow to detach for inspection.
Replacing the Barrel Lock
Unlock the door and remove the handle to replace the barrel lock. You might need a little screwdriver for this. Insert the key after turning the handle a few times to the left. Turn it to the right, and then totally take it out by applying pressure to the lock on the inside of the handle with a screwdriver. Open the machine, position the T handle correctly, and enter the key with the lock fully inserted to install the new lock. Now that you are aware it is there, listen for the click. Before locking the machine door, test the handle to make sure it’s functional.
Drink/Snack Vending Mechanism
Every time you load fresh products, it’s a good idea to ensure that the machine is correctly dispensing the goods; thus, we advise doing this once every 60 to 90 days. By pushing the front button, you may access the service mode and perform a test to see if the vending machine apps are operating properly. Problems with beverages typically arise from the weight of the bottles or cans. It is advisable to test with a few bottles and cans to make sure everything is functioning properly. Check the binding in the delivery mechanism if it becomes stuck. You may use this to determine whether the motor’s gears are damaged, the product is correctly loaded, or the sold-out sensors aren’t working properly.
It can help you spot problems before they develop and avoid spending money on service or repairs, which can reduce income loss from a machine outage. Regular maintenance checks can assist you to extend the life of your smart vending machines. The dependability of the service you offer to customers is the most crucial factor. Customers will return to you for more purchases when they are certain that your machine will work as intended. Even though routine maintenance requires little effort, the benefits are substantial.
Furthermore, it is recommended to always adhere to the manufacturer’s instructions for correct installation, operation, and service. If your equipment is malfunctioning or experiencing a breakdown, you can always contact our knowledgeable professionals.


